Overview
Groups allow you to separate learners into various categories. You can view a list of existing groups, create new groups and/or create hierarchial relationships (or tiers) between groups. Learning activities such as courses, assessments, and Learning Paths can be assigned to specific groups of learners. Administrators can generate completion reports for all or specific groups or set up a user as a “Manager”, which allows them access to generate reports for a specified group.
Adding Groups
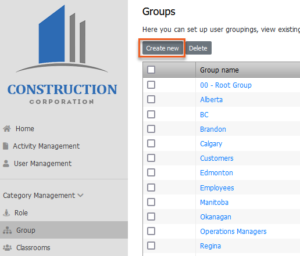
- Click on the “Group” tab. The screen displays the list of groups.
- Click on “Create new”.
- Complete the fields in the top section of the screen. *Required fields are marked with an asterisk.
- Group name: Add a name or title for this group.
- Group code: Add a code for this group.
- Parent Group: Used to create hierarchical relationships (or tiers). Can be used to link this group to a higher level group. (Eg. Payroll linked to Accounting Dept.)
- Description: Add a description for this group.
- Meta: Add keywords, descriptions to this group to be used to assist with searches and report filtering etc.
- Assign a user as a Group Manager: Select someone to have the ability to generate completion and status reports for users within the group.
Sorting and Filtering Groups
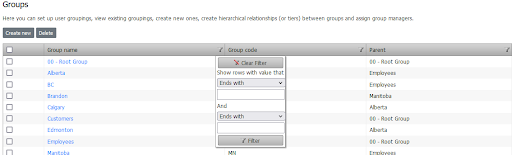
The main page of the Group Tab displays all existing groupings.
- Click on any of the list headers to re-sort the list.
- Click on the drop-down arrow to the left of a header to search for a particular group using the provided filters.
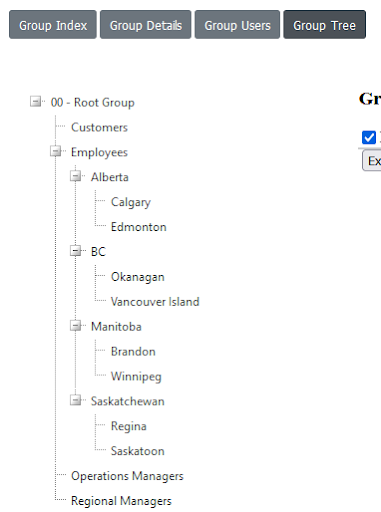
View Group Tree
View your groups and their hierarchy at any point in time by clicking on a group in the group list and clicking ‘Group Tree’. Here you will see the relationship between each group.